Featured products are manually created product listings that combine a specific product, color, and design into a single highlighted item. They appear at the top of your shop's catalog, ahead of all automatically generated products.
Your shop’s catalog is automatically created by combining your product and color selections with your designs to offer hundreds of unique products to your customers instantly.Featured products, on the other hand, are manually and individually created products you can use to combine specific products, colors, and designs. These featured products will populate to the top of your product catalog to help them get your customers’ attention.
Use featured products to highlight a specific design, product, and color combination for your customers.
Creating Featured Products
Before you create your featured product, make sure the design you intend to use has been uploaded to your Design Library.
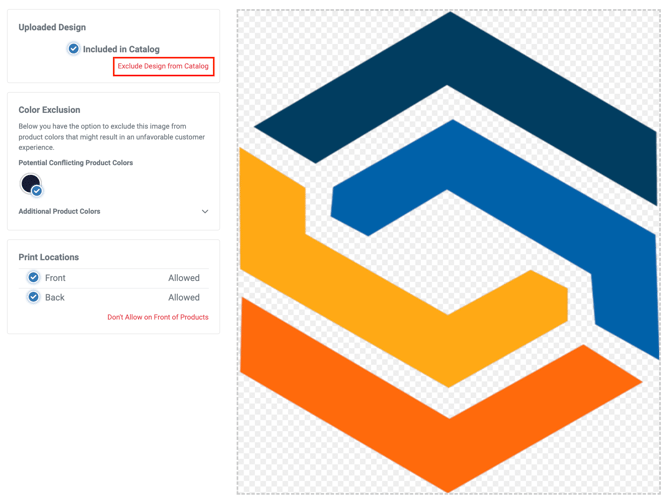
If your design will only be used on featured products, you can exclude it from your design library from within the Design Configuration page so that it isn’t available across your store on all products. It will remain available for you to select in the creation of your featured product even if it’s excluded from your design catalog.
To open the Design Configuration page, click on your design in the Design Library. To exclude it from your shop's catalog, click Exclude Design from Catalog.
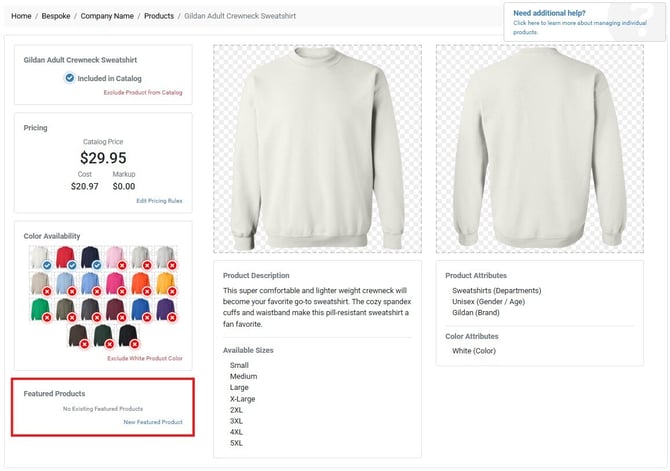
Once your design has been uploaded to your shop’s design library, click Products in the left navigation menu. Next, Click on the product you’d like to use for your featured product.
You can make your product selection from any included or excluded product
At the bottom of the product details menu, click New Featured Product.
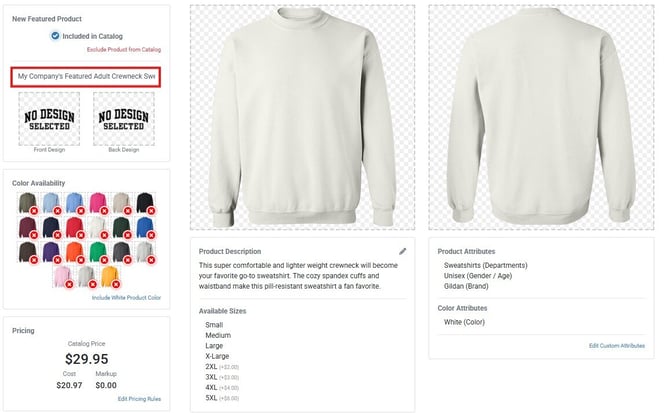
If you'd like, you can update the name of your featured product. This name will display on your website for your customers both in your product catalog and on the product page.
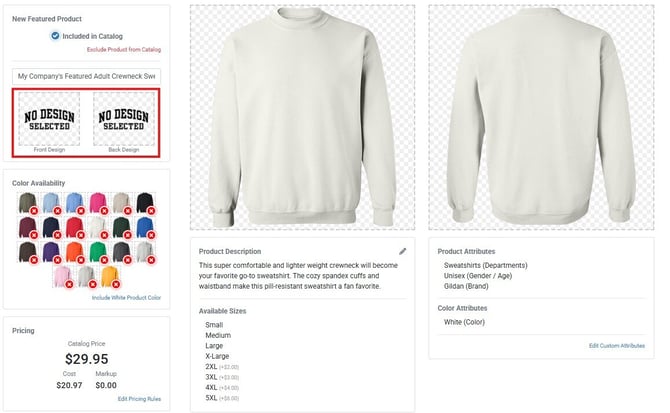
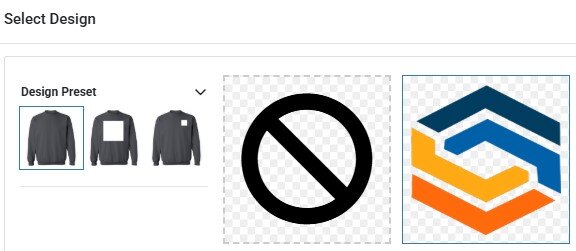
Click Front or Back design (based on where you’d like your design placed) to select a design from your Library.
Once your design is selected, choose a print location. For example, for a front design, select either Full Front or Left Chest. You can also allow your customers to choose their preferred placement by selecting the User-Selected positioning option.
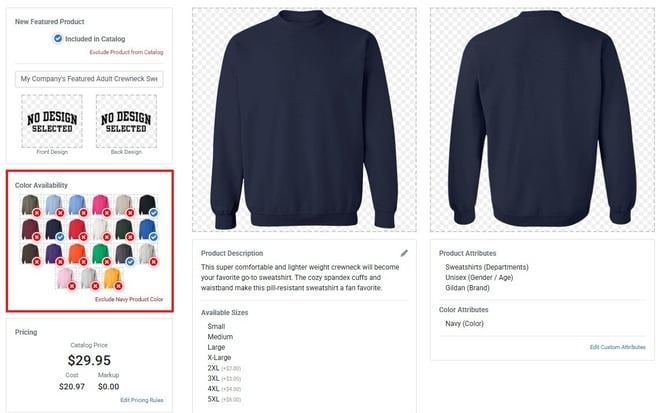
Next, select a garment color to preview your design on that color. If you’d like to include that color for your customers, click Include Product Color.
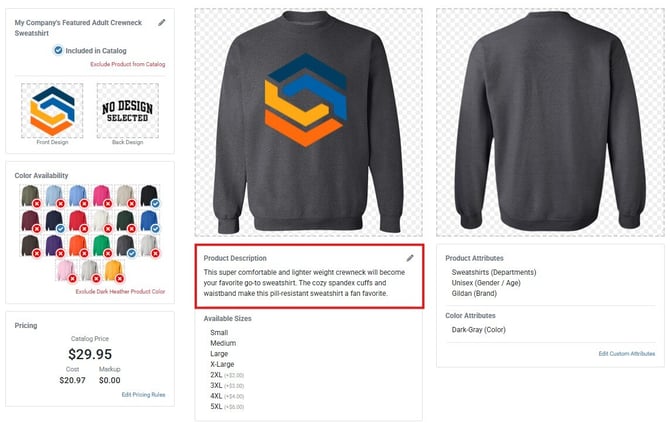
If you’d like to modify the product description, click the Edit button above the default description.
Save Changes to add your Featured Product to your shop.
Adding Markup:
To add markup to this featured product in addition to any markup already applied to your product catalog, click Edit Pricing Rules.
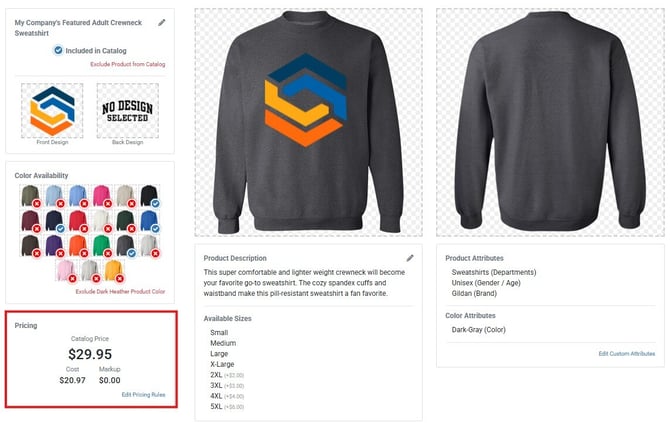
For more information about product markups, see our step-by-step pricing tutorial.
Featured Product Location:
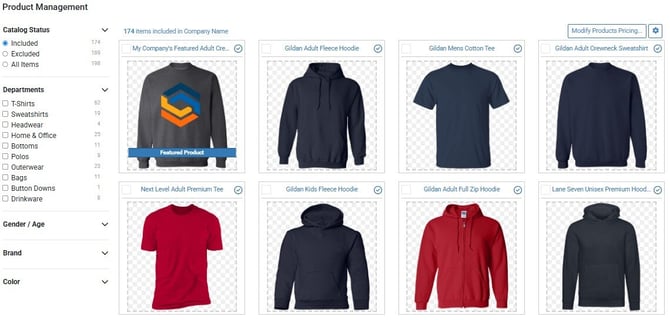
When you return to the Product Manager, you’ll see your Featured Product at the top of the Product Catalog flagged with a Featured Product Banner.
If you preview your shop, you’ll see your featured product highlighted in your shop’s New Products section, just as your customers will see it. Featured products are displayed prominently, ahead of the automatically generated products in your catalog.
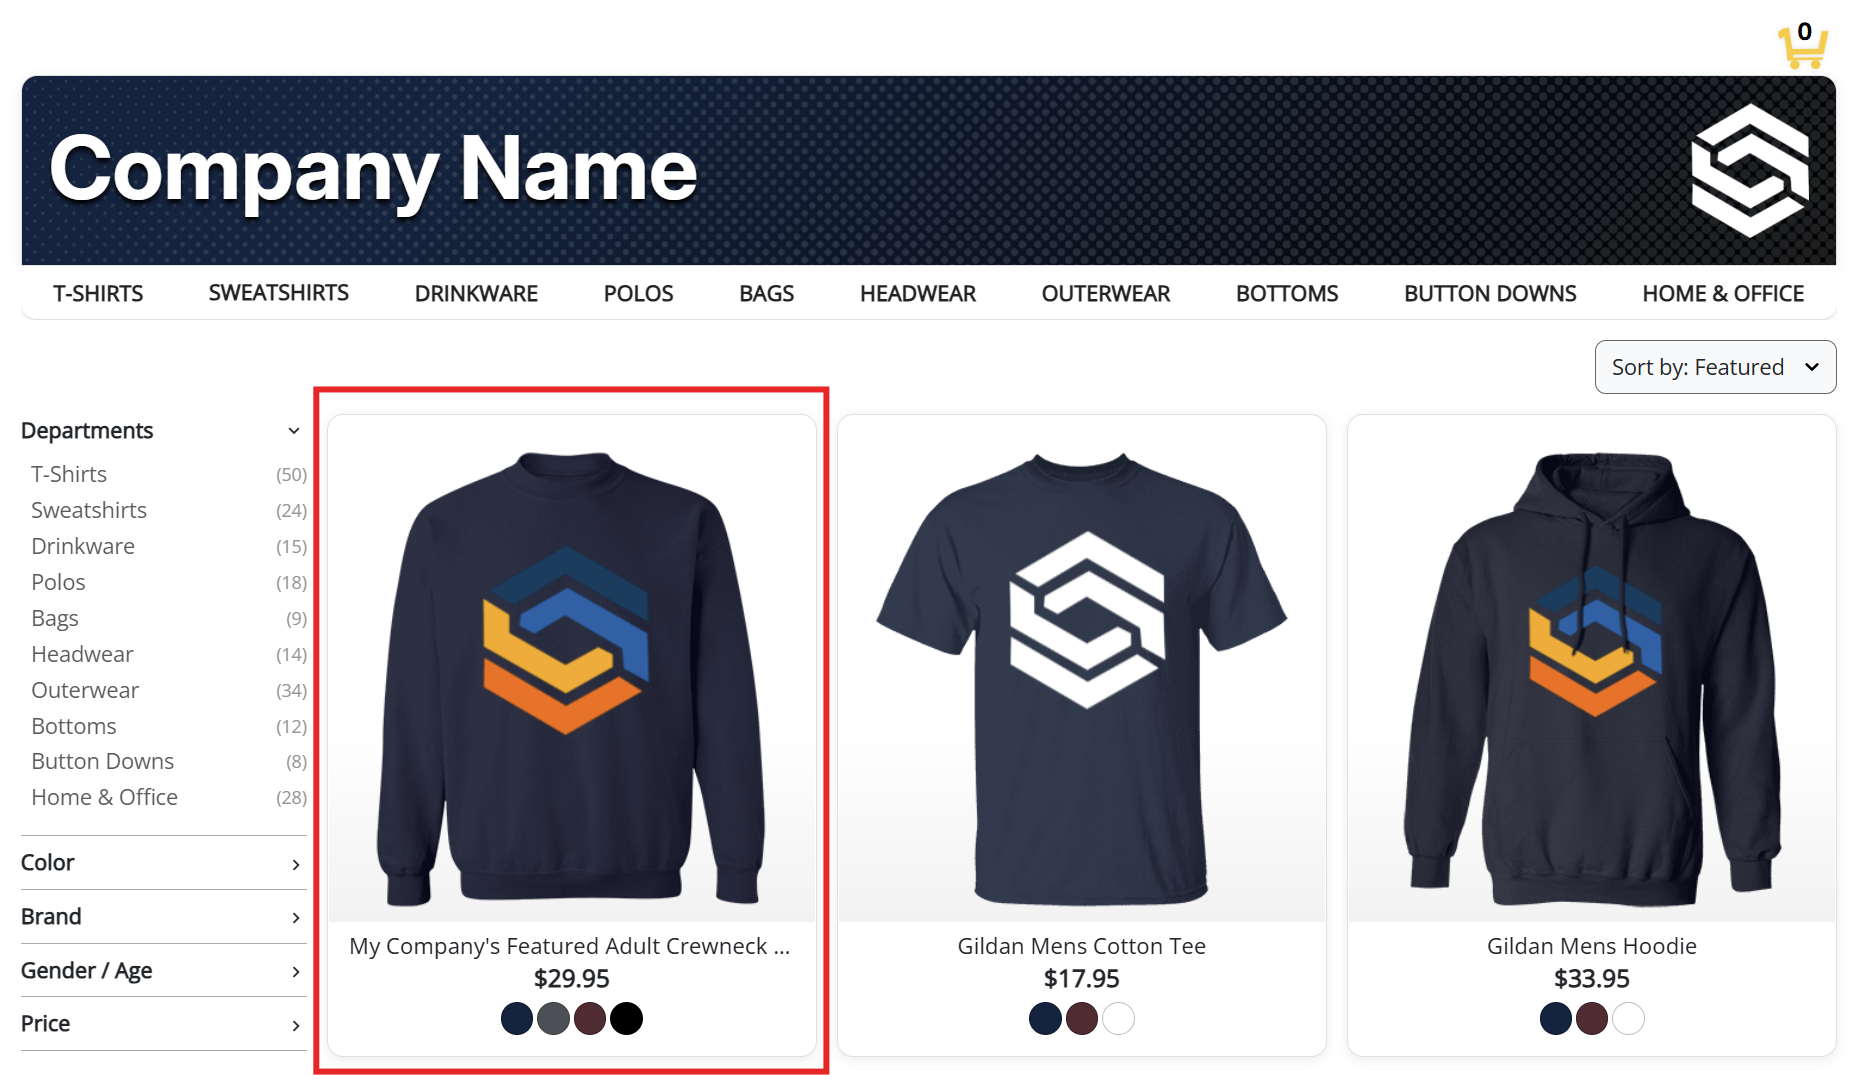
Note: Multiple featured products display in the order they were created, from first to last. To control the display order, create your featured products in the sequence you want them to appear.