Advanced Design Options give you precise control over how your designs appear in your shop. These settings are available both before and after uploading a design — the options available to you differ depending on when you access them.
Before uploading your design, our Advanced Design Options allow you to:
- Exclude a design from your shop
- Turn off design cropping to ensure a smaller print
- This feature is intended for use on Featured Products, as it will reduce this design's print size on all products.
- Please note: this feature may not display your excess transparency when uploading vector files, resulting in inaccurate mockups. For best results both in print and for mockup generation, please upload high resolution PNG images.
- This feature is intended for use on Featured Products, as it will reduce this design's print size on all products.
- View additional Advanced Design Options after upload (see below)
To access Advanced Design Options prior to upload, click the Advanced Design Options link in the bottom right corner of the uploader.
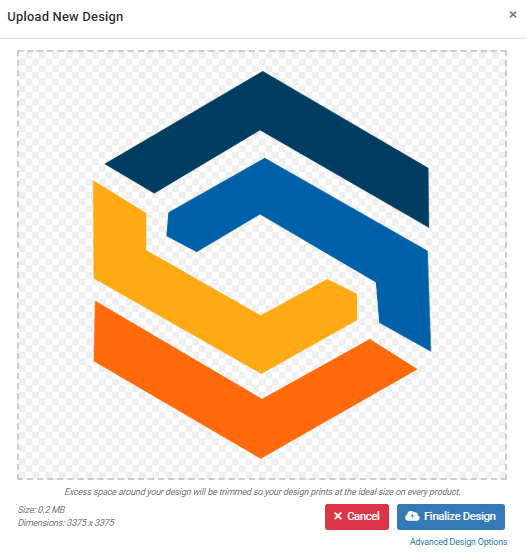
This will lead you to the pre-upload options noted above.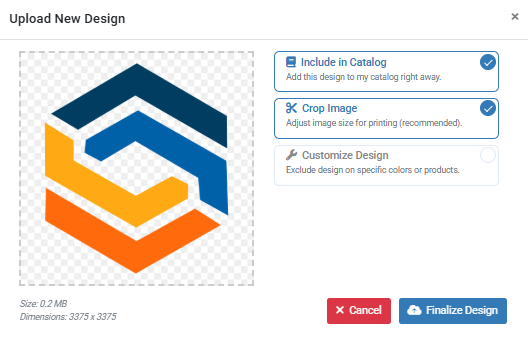
Clicking Customize Design above will lead you to the Design Configuration page.
After finalizing your design, Design Configuration allow you to:
- Include/Exclude a design from your shop
- Exclude a design from being displayed on certain product colors
- Exclude it from availability in certain print locations
You cannot change the color of a design, increase its resolution, or resize it within the platform. Please ensure your design is the correct specifications for print prior to upload.
To access Advanced Design Options after you've uploaded your design, click on the design from within your Design Library.
Excluding a Design from Your Catalog
Excluding a design from your catalog will ensure that design is not displayed in your shop. The design will be saved in your Design Library in case you'd like to include it in the future or use it to create a Featured Product.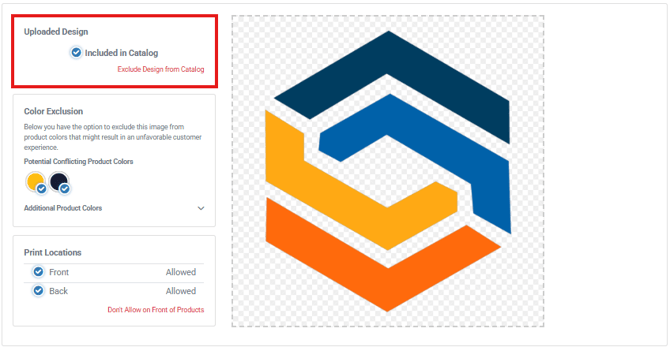
Excluded designs, while not automatically displayed on your products or made available to your customers automatically, can still be used to create Featured Products.
Turning Off Image Cropping
By default, the platform automatically removes extra blank space from your design to maximize print size across all products. To achieve a smaller print, add transparent space around your design — this reduces the overall print size.
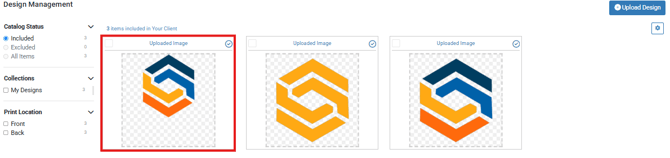
Please note: adding transparency above your design will move your print further down the garment. To ensure standard print placement on apparel (typically 2-3 inches from the collar), please ensure there is no excess transparency above your design.
Additionally, turning off design trimming will reduce the print size on all products to which that design is applied. This feature is intended for use with Featured Products.
To ensure your print is the size you'd like, please review our Default Print Sizes by Product for proper file preparation.
Excluding a Design from Displaying on Certain Product Colors
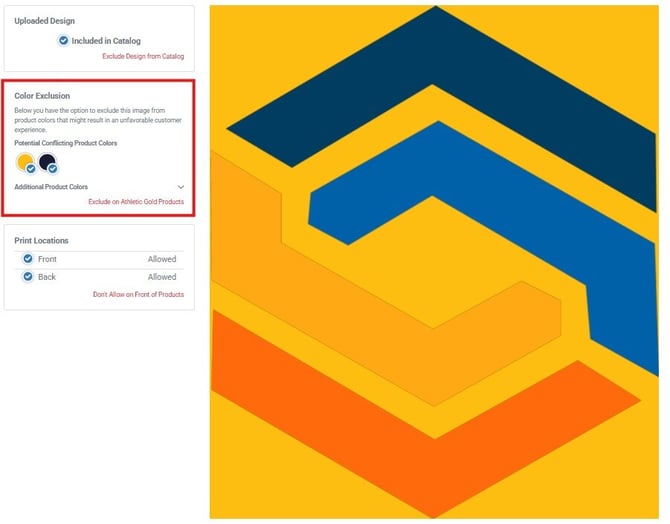
You can exclude your design from displaying on specific product colors in your shop. For example, this is useful if you want to include white products without showing a white design on them.
Please note: if you choose to exclude your design from any product colors you currently have selected as your shop colors, you’ll want to be sure to either add another design to display on those product colors OR remove that color as a Shop Color in your settings.
We will automatically display any shop colors that may potentially conflict with your logo for your review. To preview your design on that color, click on it from your Design Configuration screen. If you'd like to exclude it, click the red "Exclude on Athletic Gold Products" link below the color swatch.
Excluding a Design from Displaying in Certain Print Locations
To exclude your design from the front or back of garments, use the print location controls on this screen. Click Front, then select Don't allow on Front of Products to remove the design from front-print garments in your shop. To exclude it from the back, click Back and select the equivalent option.
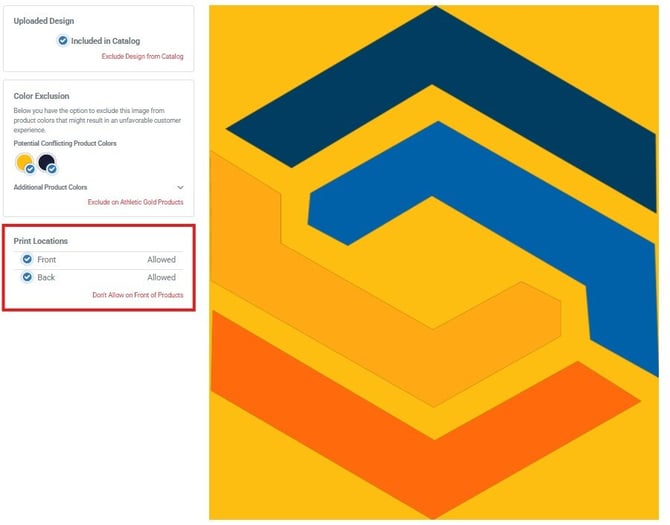
To manage print locations, open the design from your Design Library and use the Design Configuration screen to toggle front or back print availability. Please note: at least one print location must be enabled for each design.